This offer is valid for online purchases only, not valid at in-store location.
Black Seiryu Stone
1. Select the Right Stones
- Quantity and Size: Choose the number and size of stones based on your aquarium’s size and the aquascape design you envision.
- Aquascaping Plan: Plan your layout. Sketching your design can help visualize how the stones will be arranged.
2. Clean the Stones
- Rinse: Thoroughly rinse the stones under running water to remove any dust or loose particles.
- Scrub: Use a brush (not used for any chemicals) to scrub off any dirt or debris. Do not use soap or detergents.
3. Test for Alkalinity
- Vinegar Test: Drip vinegar on the stone. If it fizzes, it indicates the stone may affect your water's pH. Seiryu stones can slightly raise the pH and hardness, so consider this if you have fish sensitive to pH changes.
4. Prepare the Aquarium
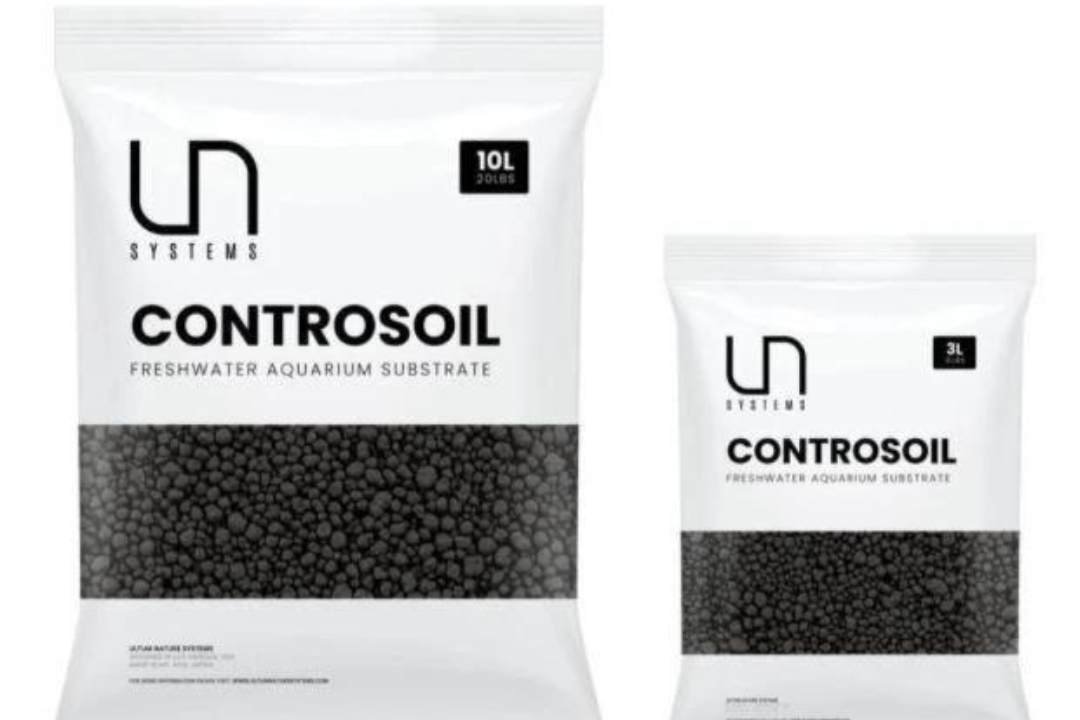
- Substrate: Add the substrate to your tank before placing the stones. This helps anchor the stones and provides a natural look.
- Water Level: Partially fill the tank with water to make it easier to position the stones.
5. Position the Stones
- Foundation Stones: Place the largest stones first as they will serve as the main features of your aquascape.
- Stability: Ensure the stones are stable and not likely to topple over. If needed, bury the base of the stones slightly in the substrate for extra stability.
- Secondary Stones: Arrange smaller stones around the main stones to create a cohesive design.
6. Final Adjustments
- Fill the Tank: Once the stones are securely in place, slowly fill the tank with water to the desired level.
- Check Water Parameters: Monitor pH and hardness levels over the next few days to ensure they remain within acceptable ranges for your fish.
7. Acclimate Fish and Plants
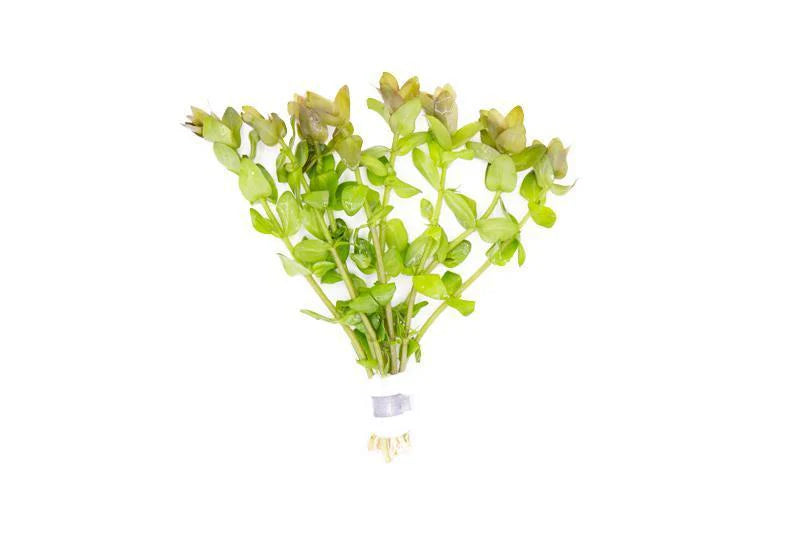
- Introduce Plants: Plant any live plants around the stones, considering their light and nutrient requirements.
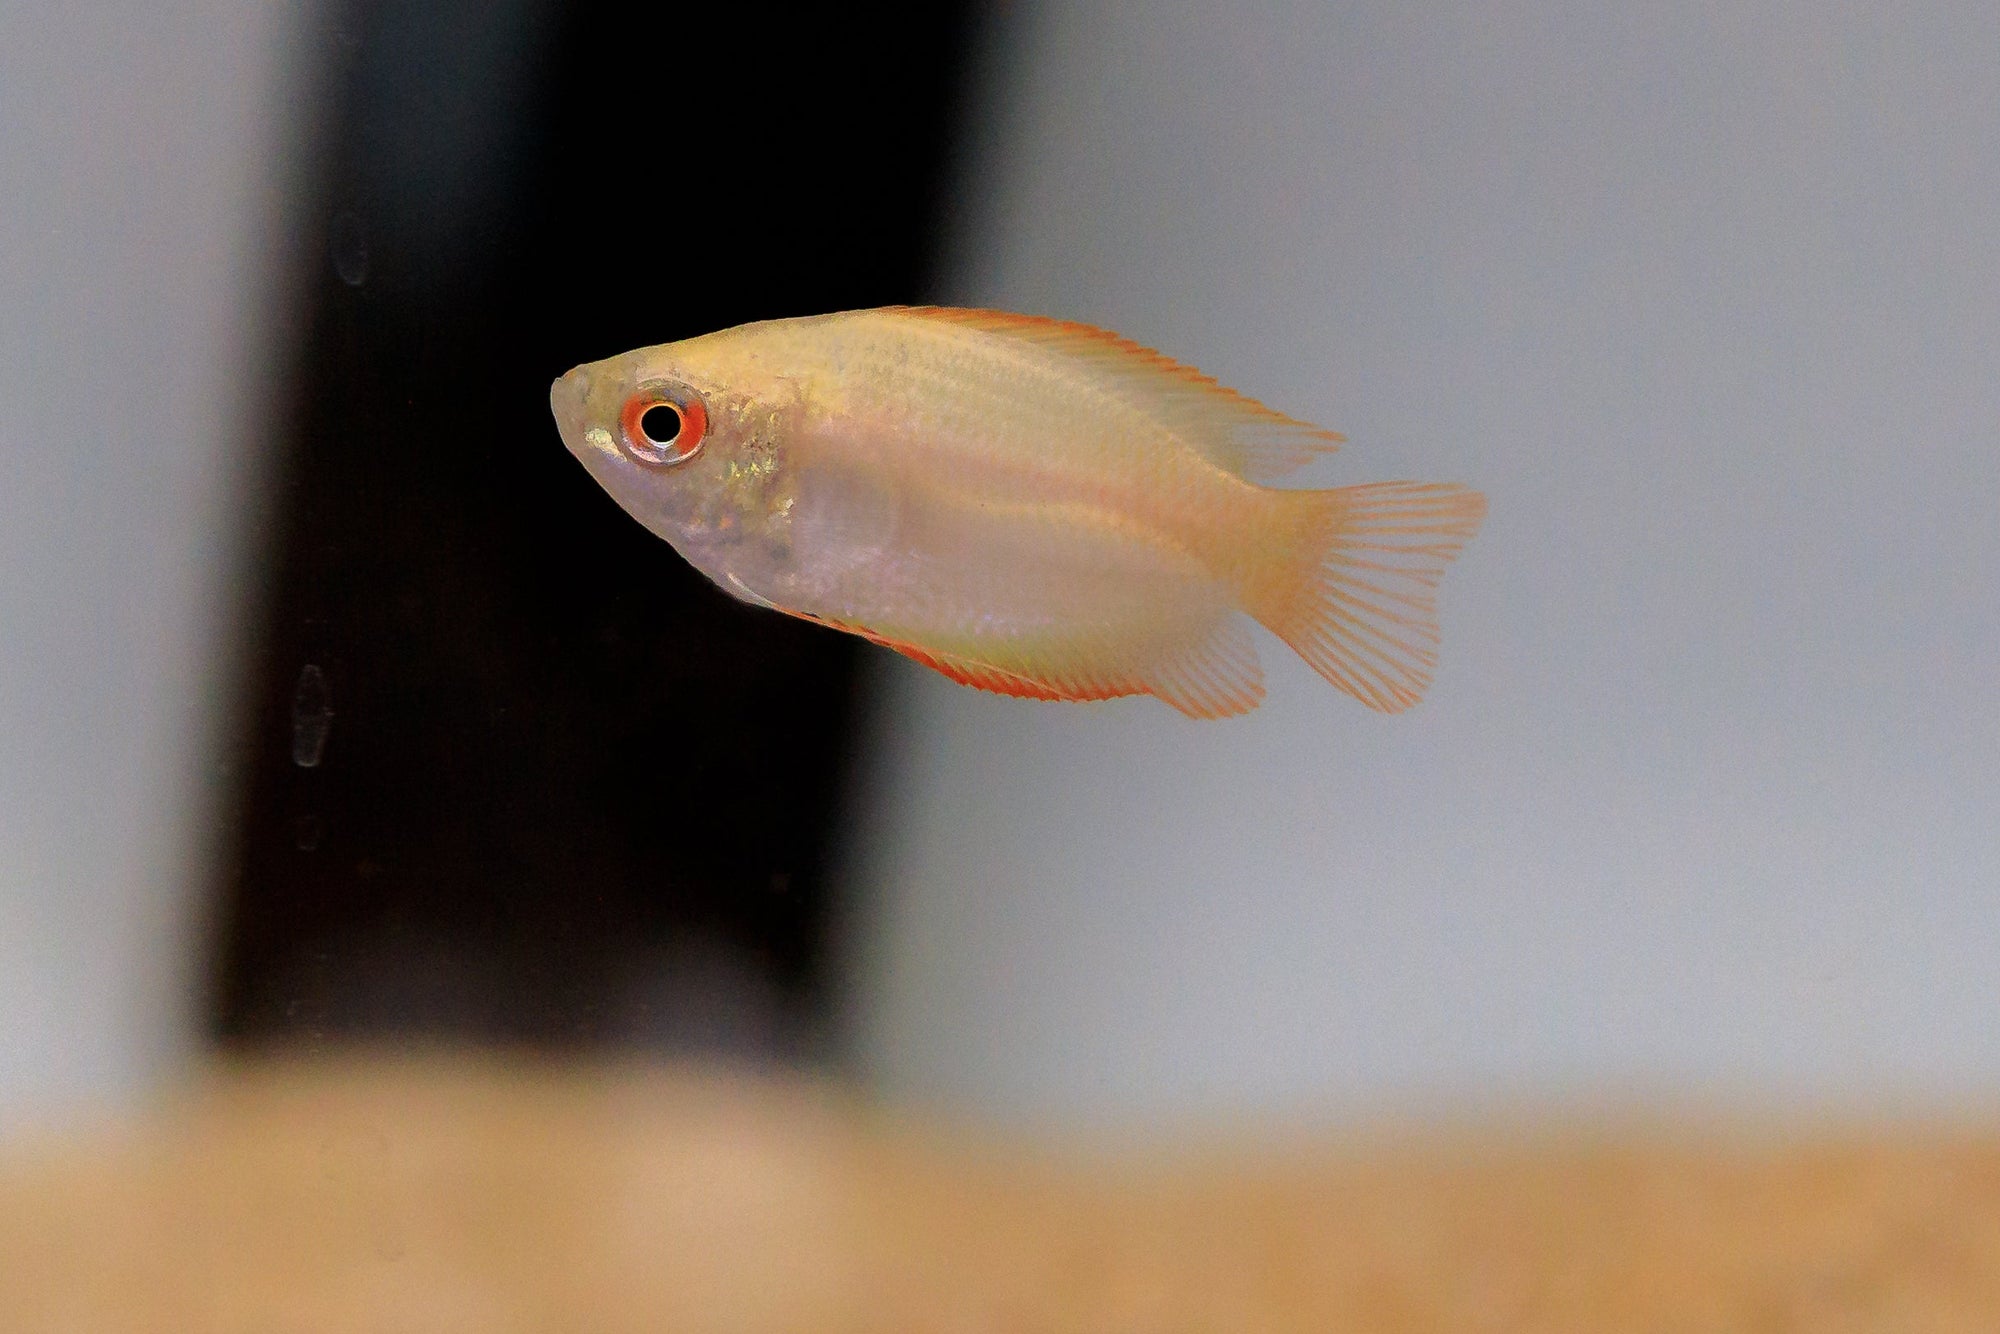
- Add Fish: Gradually introduce fish to the tank, ensuring they are acclimated to any potential changes in water chemistry.
Larger rocks may require a minimum weight. Please contact us for assistance on various rock sizes before placing your order.
All dry-good purchases may be returned if unopened. If the packaging for any dry goods have been opened but unused, it may still be eligible for return.
For more info regarding returns, please refer to our FAQ page.

